
In this episode
- Two reclaimed pallets from stone deliveries, plus timber posts and slats
- Small logs on top, big logs below and an enclosed kindling bay
- Three coats of black bitumen paint to protect it from the weather
- Raised on levelled stone blocks for airflow and to keep rats and snakes out
- Firewood cut, stacked and the side of the house cleared
Why I built a pallet log store
This is a DIY pallet log store for firewood, built from start to finish at my off-grid villa in rural Sicily, designed on site with no plans. If you want to know how to make a log store from pallets, this is the whole job in one video. The idea was a proper home for firewood and kindling, raised off the ground and kept out of the rain, using materials I already had. You can read what the cooler months are really like here in my guide to Sicily in winter.
Firewood has been piling up since the very first garden clearance. In episode 12 I cut the branches of a felled tree into firewood, and in episode 23 and episode 26 the thicker logs were stacked against the house walls because there was nowhere else to put them. I have also been weighing up a log burner against an outdoor fire pit since episode 24. Either way, the wood needed somewhere better than a pile against a wall.
What I used: reclaimed pallets and timber
The base of the build is two reclaimed pallets, left over from deliveries of stone for the renovation. Everything else came from a local timber merchant: pressure-treated posts for the frame and slats for the sides. On the tool side it is a spirit level, a cordless impact driver, a hand saw, a mitre saw on a workbench, clamps and a tape measure. Nothing specialist.
The layout is simple. The lower level holds the big logs, the upper level the smaller ones, and an enclosed section at the bottom takes plastic tubs of kindling, so there is always something dry to get a fire going.
Building the frame and the two tiers
I start on the patio with the first pallet raised on building blocks so it sits level and clear of the floor. Long upright posts are checked with a spirit level and screwed to the outside corners of the pallet. That gives the store its height and its strength.
Next, horizontal rails are cut with a hand saw and screwed across the posts at the height of the second tier. The second pallet slides onto those rails and is screwed in from underneath and from the sides, and then the last corner post is cut to length and fixed. With both shelves in, I tilt the whole thing to get at the joints and add extra fixings where it needs stiffening.
Across the top go more timbers to tie the posts together, and then angled rafters so the top slopes and rain runs off rather than sitting on the logs. My son was on hand to hold timbers and, as soon as the middle shelf was in, to climb onto it and test it. I told him I was building him a bunk bed, and he really liked it.
Weatherproofing with black bitumen paint
Before any cladding goes on, the bare frame gets painted. I put cardboard under the feet to protect the stone floor, then roll and brush black bitumen paint over the posts, the rafters and both pallets. It is cheap, it goes on easily and it gives the wood a bit of protection from the elements. In all, the store had three coats.
The kindling bay and the side slats
On the lower right I fit a vertical sheet of OSB as a divider, plus a small intermediate shelf, to make an enclosed kindling bay sized for clear plastic storage tubs. Then the slats are measured and cut on the mitre saw and screwed horizontally onto the sides and back, spaced with a gap between each one. The gaps are the point: air moves through the stack and the wood keeps drying instead of going mouldy.
Raised on stone blocks, away from rats and snakes
The finished frame is moved out into the garden beside the stone boundary wall. With a shovel, a hoe, a spirit level and a tape, I dig in and level four stone blocks, one under each corner, so the store sits clear of the bare soil. That stops the feet rotting, lets air under the wood, and means there is no dark gap at ground level for rats and snakes to nest in. I also raised it so the cats can get underneath and all around it. The villa had rats in every room when I got the keys, and one of the cats once left me a snake by the wall, as you can see in the kittens Deep Dive.
With the store in place I fit the rest of the side and rear slats, trim the ends flush with a hand saw and finish the roof with black corrugated roofing sheets and an overhang to keep the rain off the logs.
Cutting firewood and clearing the side of the house
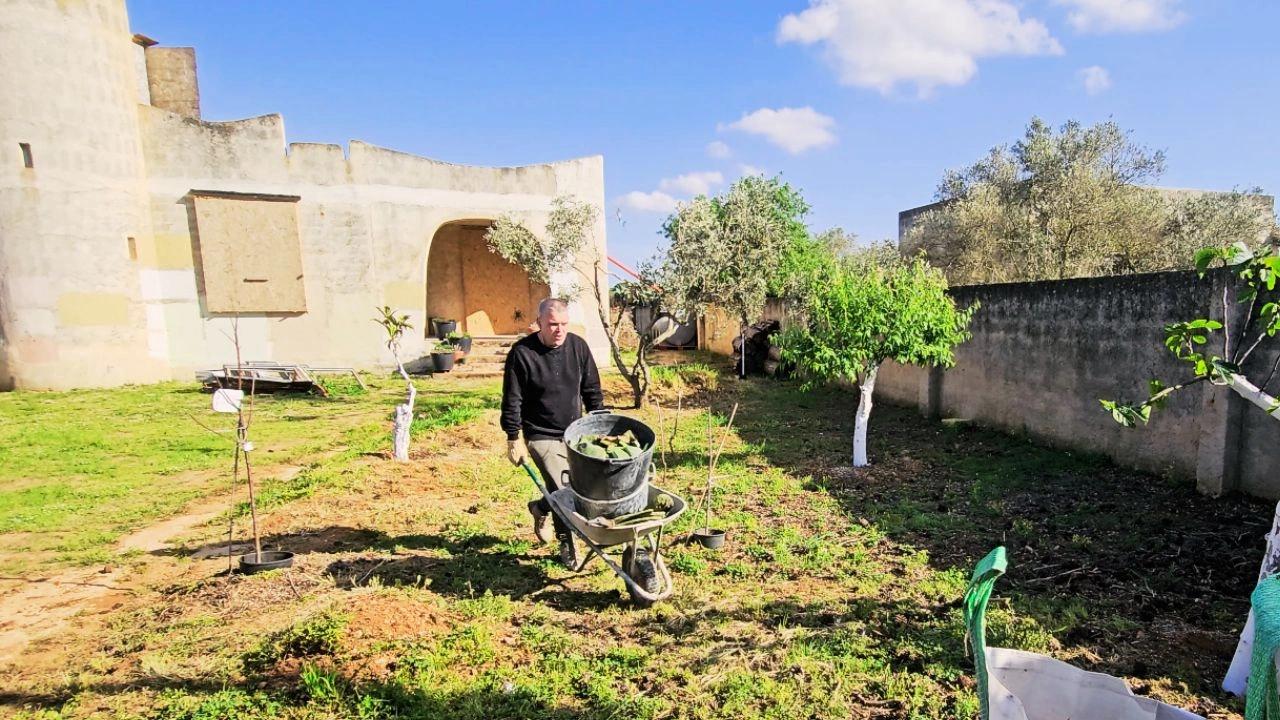
Then comes the satisfying part. Branches and trunks are cut to length with a small cordless chainsaw on a tree stump I use as a chopping station, loaded into the wheelbarrow and stacked tightly into the store.
I also clear the old logs and brushwood from beside the house. Before anyone says this is not a priority, I am fully aware. I just wanted to do it. That area will change soon: when we remove the earth for the underground rainwater tank, which I start digging in episode 76, the whole floor there will be raised to sit level with the septic system lids (the new soil pipe to the cesspit is in episode 53). So the wood had to move anyway, and the old pile was a prime nesting spot for rats and snakes, so I was glad to see it gone.
A spare pallet goes down next to the store for the oversized logs that will not fit inside. The finished store has small logs on the top shelf, big logs on the lower left and the kindling tub on the lower right. It puts two waste pallets to good use and gets the firewood off the ground and under cover. If you are planning your own off-grid set-up, my guide to living off-grid in Sicily covers the bigger picture, and the full renovation story starts at episode 1.
Frequently asked questions
How many pallets do you need to build a log store?
I used two reclaimed pallets, one for each tier, plus four timber posts, rails between them and slats for the sides and back.
Why should a log store be raised off the ground?
Raising it on stone blocks stops the feet rotting, lets air under the firewood and leaves no hidden gap where rats and snakes can nest.
How do you weatherproof a pallet log store?
I gave the frame and both pallets three coats of black bitumen paint before cladding it, to protect the wood from the elements.
Why leave gaps between the slats on a log store?
The gaps let air move through the stack, so the firewood keeps drying out instead of staying damp and going mouldy over the winter.
What roof did you put on the pallet log store?
Angled timber rafters covered with black corrugated roofing sheets, finished with an overhang so rain runs off rather than onto the logs.
More episodes on the same job: The garden and fruit trees


 The weekly YouTube series