
In this episode
- €1 broom handles cut into pegs to mark the footing heights
- A laser level used to mark the exact concrete level on every peg
- A kitchen wall only about 5 inches thick, rebuilt where it broke through
- The backing for the fuse board built and the main ducting secured
- The planter bed footings poured and tamped by head torch
Starting over with no team
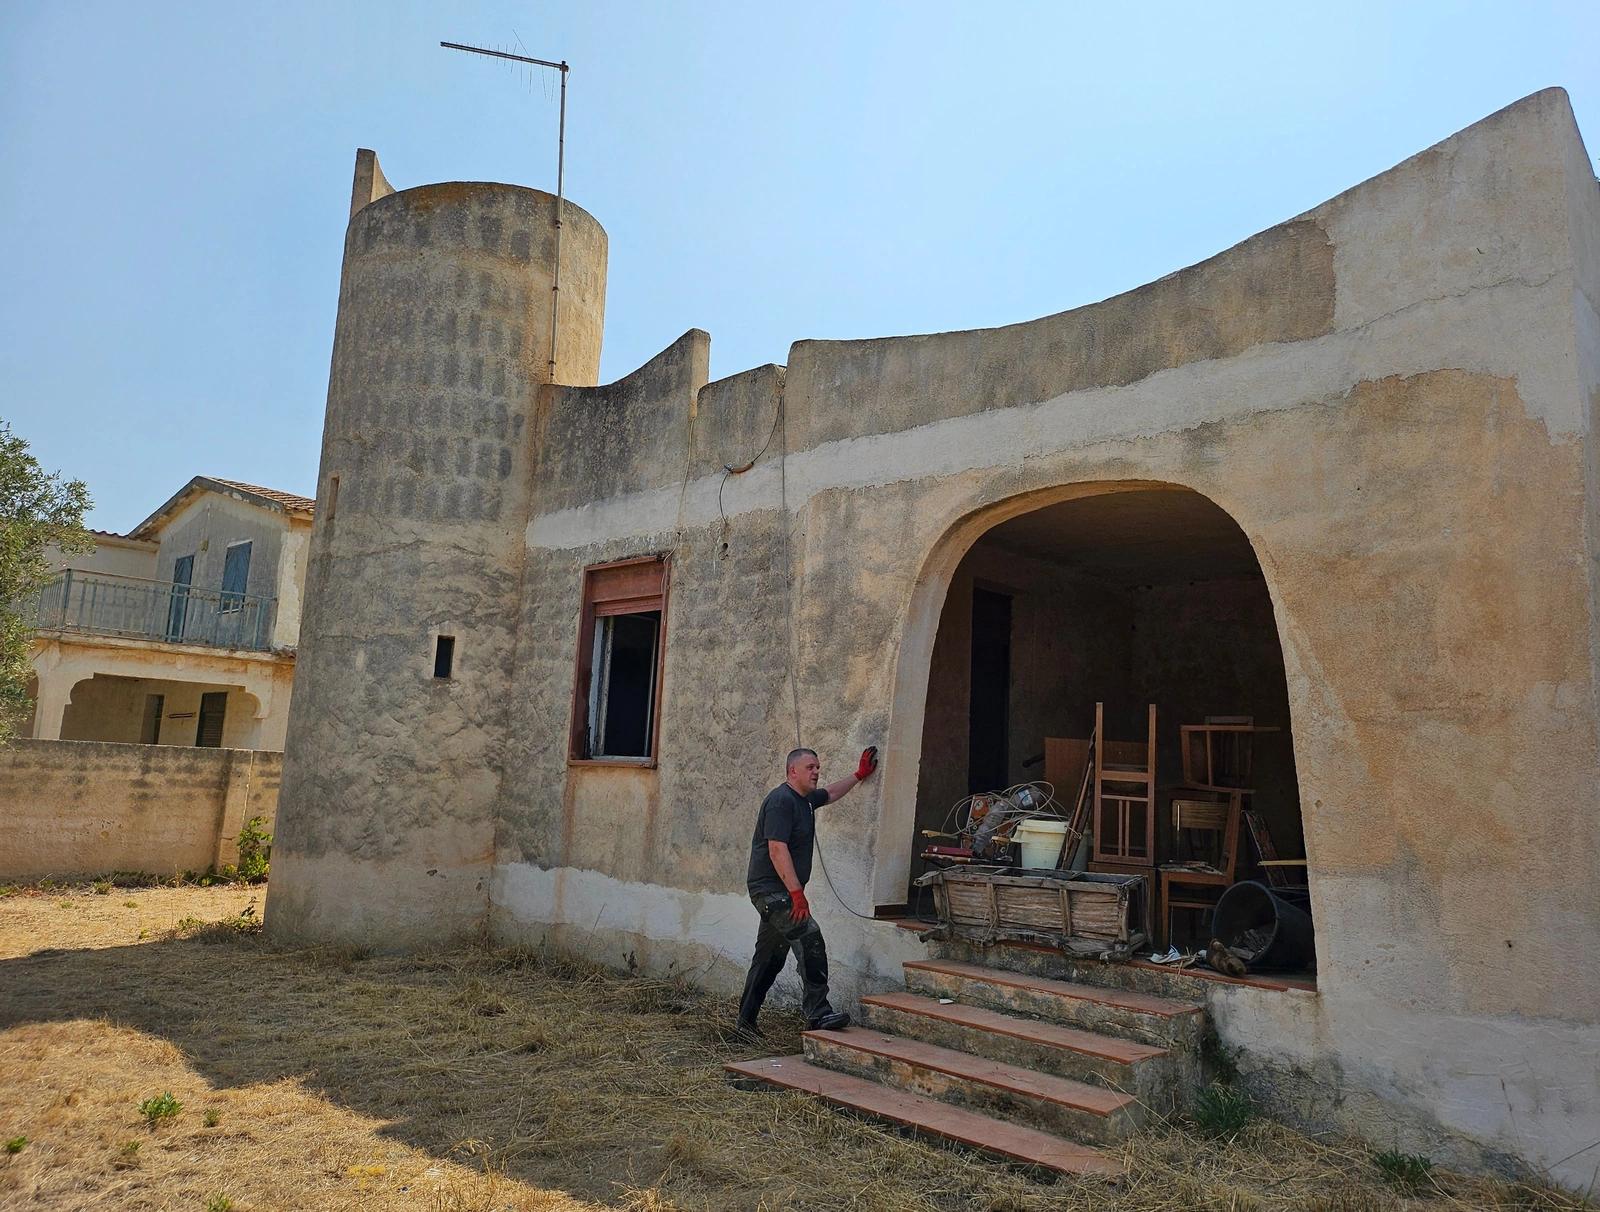
This week is about setting concrete footing heights with a laser level and pouring the planter bed footings. In September last year I left everything behind and moved to Sicily with my young family to take on this abandoned, rodent infested villa, with no power, no water, no network and a language I do not speak. With a €50,000 budget and my own two hands, I have 11 months to make it work. With no mains power yet, every job needs planning.
Broom handles as footing pegs
The trenches dug for the planter bed footings are not perfectly level, and the concrete has to be even and poured to the right height. So I cut €1 broom handles from Keidea, bought a few weeks ago in episode 21, into short pegs and hammer them into the bottom of the trenches with a club hammer.
Then I set up the laser level and mark the correct height on each peg. When I pour the concrete, those marks are the guide that keeps everything level. Later in the day I trim the peg tops down in the trench with the chainsaw and spray the level marks in red. I ask in the comments how others would have tackled it, because there is always more than one way.
Mulching and clearing for the power trench
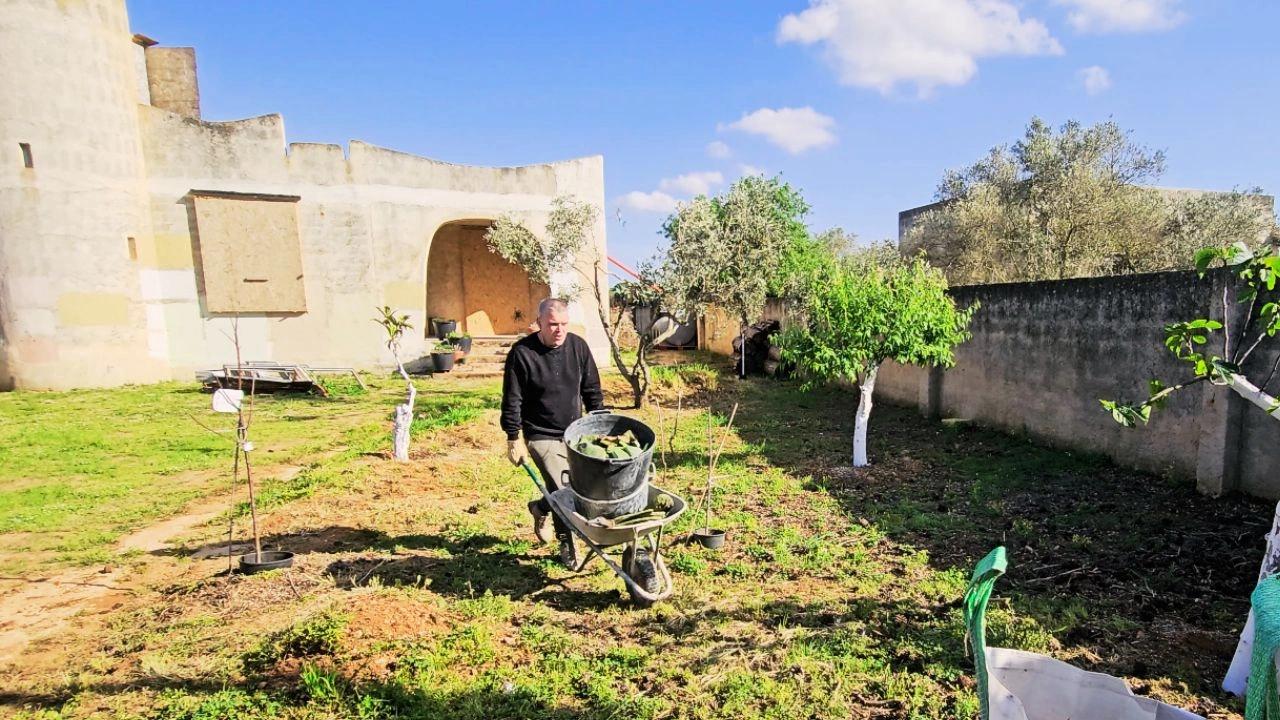
Outside, my friend Lewis keeps feeding pine branches through the rented mulcher. It is not great, but it is the only one I could find to hire in the whole of Sicily, so credit to him for powering through. The mulch goes to the fruit tree planter beds to improve the soil. The small branches and pine cones that will not go through are set aside, either as a base layer under the finer mulch or to be mulched later if I bring in a company for the big pile on the other side of the house.
It is a boring, tedious job, but an important one, because the space has to be clear so the trench for the mains power cable can be dug. The thicker logs are wheeled round and stacked against the house wall as firewood. That trench is dug in episode 30.
The last chases and the fuse board wall
Inside, I fill the wall chases in the hallway with concrete over the conduit, scrape the dried lumps off the floor and smooth the high spots in the kitchen floor repairs. Up the corner of the veranda arch, another run of conduit is chased in and plastered over. Preparing the electrics has been a long, tedious process, but that is the reality of renovation. You stay focused and keep positive.
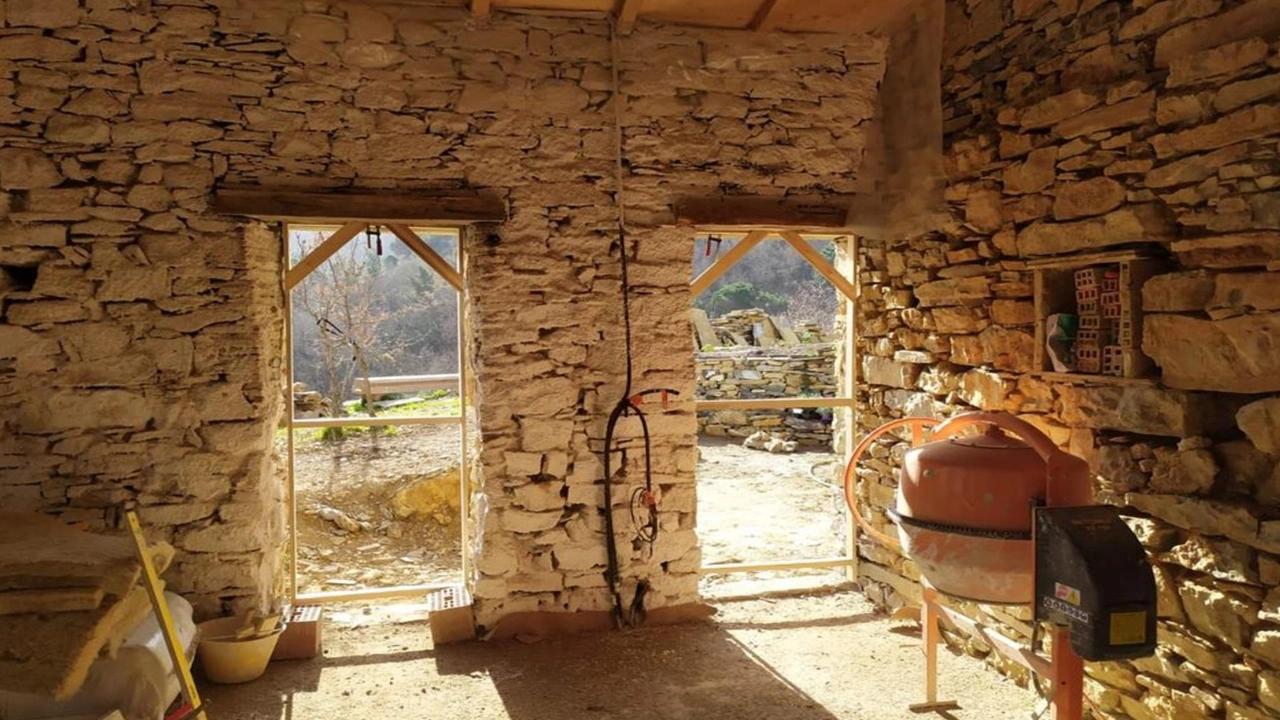
One problem needs fixing. The kitchen wall is only about 5 inches thick, and when I broke out the holes for the back boxes it went straight through into the bedroom. Lewis cuts lightweight block pieces with the angle grinder, wets the opening with the sprayer and builds the wall back up in mortar. Then the backing for the fuse board goes up, the bundles of conduit feeding it are mortared in and the main electrical ducting is secured. These chases have been the work of weeks, from episode 22 and episode 24 to now.
Salami sandwiches and a favour to ask
Lunch is on the veranda steps: salami, mozzarella and tomato sandwiches made by Lewis, with a cold drink. Then I ask a favour. It does not cost anything, but sharing one of my videos with a friend, family member or work colleague who might be interested in the journey really helps the channel grow.
Pouring the footings by head torch
As the light fades, the cement mixer goes into action on the veranda. Lewis makes a wooden tamper to compact the concrete and get rid of any air pockets, and I fine tune the laser marks in the twilight. Then, under head torches, we wheel the concrete down the driveway, shovel it into the trenches and tamp it up to the marked level on each peg, working along until the footings are poured.
These footings will carry the edges of the planter beds either side of the driveway. If you are working out how much concrete a job like this needs, the renovation materials calculator helps, and my practical guide to renovating in Sicily sets out the order of works.
Why a laser level makes this easy
Without power, a spirit level and string line would be the usual way to do this, which is slow and easy to get wrong over a long run. A laser level throws one constant line across the whole garden, so every peg can be marked at exactly the same height in a few minutes. It has become one of the most useful tools on this project, from these footings to the terrace falls in episode 31.
Frequently asked questions
How do you set the height of concrete footings?
I hammered wooden pegs into the bottom of the trenches, marked the finished height on each one with a laser level, then poured and tamped the concrete up to those marks.
What can you use as pegs for footing levels?
I used €1 broom handles from a local store, cut into short pegs, then trimmed the tops with a chainsaw once the levels were marked.
Why use a tamper on fresh concrete?
To compact it and get rid of air pockets. Lewis made a simple wooden tamper on site for the footings.
What happens if you break through a thin wall cutting back boxes?
The kitchen wall at the villa is only about 5 inches thick and broke through into the bedroom. We rebuilt the hole with cut lightweight blocks and mortar after wetting the opening.
More episodes on the same job: The garden terrace
 The weekly YouTube series