
In this episode
- Steel L-brackets across a corner where the walls may not be tied together
- Hot and cold for the sink, plus cold feeds for the dishwasher and washing machine
- My first time crimping PEX pipe into brass fittings
- Primer G mixed 50/50 with water before rendering
- Timber guides clamped on for straight, clean reveal edges
Tying a cracked corner together
This week I install the kitchen plumbing in PEX and render the window reveals, but first there is a structural repair. There is cracking running down the corner of this kitchen wall, which suggests the internal and external walls may not be properly tied together.
I mark out where the brackets will go, then cut horizontal slots across the crack with the SDS drill and chisel. Large steel L-brackets go into the slots, fixed across the corner seam with the impact driver, so each one ties the two walls together. While the cement mixer turns, three of the stray cats tuck into their pink bowl outside. Then I wet the wall with the pump sprayer and mortar over the brackets and the repaired corner with a trowel. My article on what a geometra does explains who to ask about structural questions like this.
Marking out the kitchen plumbing
Next, the kitchen water supply. I mark the positions on the wall in spray paint: hot and cold outlets for the sink, and cold feeds for the dishwasher and the washing machine. Then I cut the chases with the angle grinder, wearing a respirator and goggles in the heavy dust, and chisel out the wall and floor channels with the demolition hammer, carrying the rubble out by the bucket.
The power goes out partway through, so I carry on with the generator. Sorry about the noise. At the mitre saw, I cut timber blocks to size, which are screwed into the recesses as mounting blocks for the pipe fittings.
Crimping PEX into brass fittings
The pipe is insulated multi-layer PEX, red for hot and blue for cold. Each run goes in the same way:
- Unroll the pipe and cut it to length.
- Fit the brass fitting and crimp it onto the pipe with the manual crimping tool.
- Screw the fittings and pipework to the mounting blocks in the wall.
It is my first time crimping pipe fittings, and I am honestly impressed. They are not cheap, but they feel really solid. These pipes are pressure tested in episode 63. The kitchen waste they will sit alongside was replaced in episode 48, and the bathroom supply lines follow later, in episode 79.
Priming the reveals
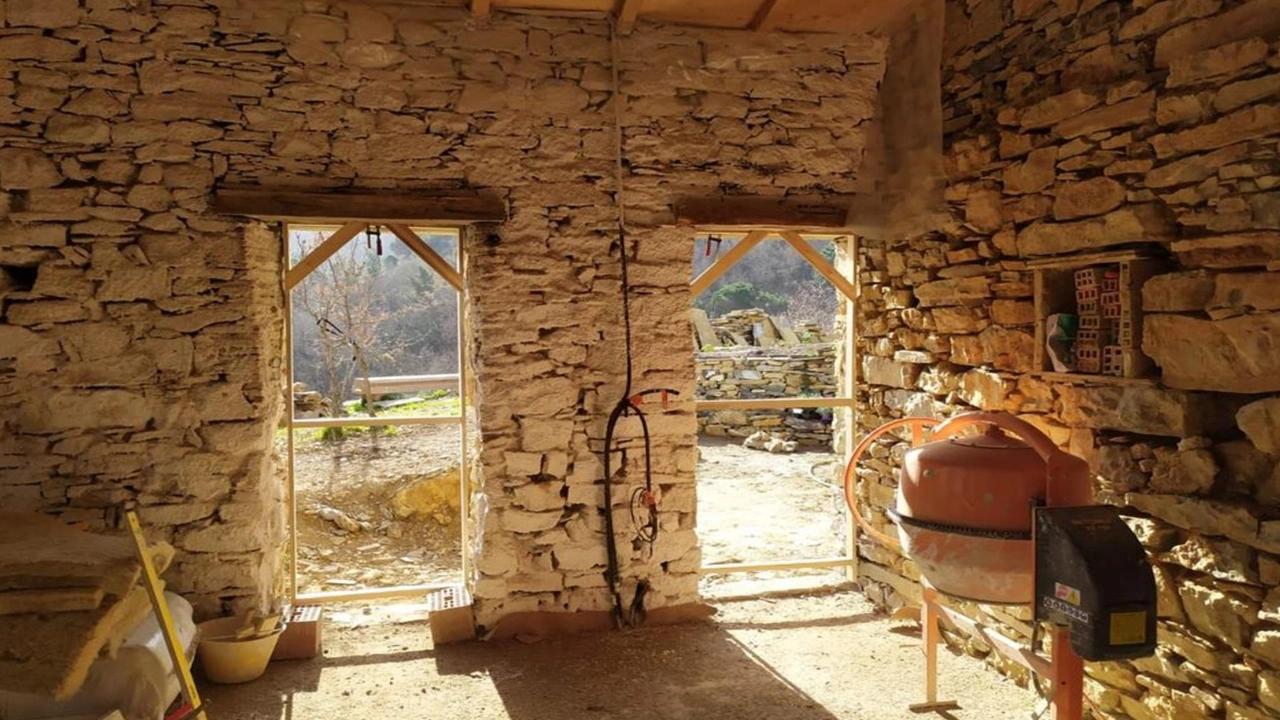
With the window and door openings rebuilt around their new lintels and sills in episode 60, the reveals need rendering so they have straight, clean edges for the plasterer. First they are primed. I mix Mapei Primer G, a multi-purpose acrylic primer, at a 50/50 ratio with water in a cut down plastic bottle, and brush it onto the exposed masonry edges and the lintel.
Rendering against timber guides
To get straight edges, I use timber as a guide. I cut boards to size with the circular saw and clamp them around the opening with F clamps, checking them with the spirit level so they set the depth and alignment of the render. Over the top of the opening, the boards form a shutter that I pack with mortar from the hawk and trowel. Plastic sheeting is cut and fixed to line the formwork.
On the second opening, something does not go to plan, and the language is not repeatable. I re-prime, re-clamp the side and top guides, and check everything is level and plumb before going again. Then the vertical sides of the reveals are rendered with a float and trowel, and the guides come off once the mortar has cured, leaving a crisp edge. I line up the next timber guide on the adjacent window and check it with the level.
Once cured, the surfaces are floated smooth. The plasterers arrive in episode 70, and my practical guide to renovating in Sicily covers the prep that comes before them.
Filling around the new pipes
The last job is the chases around the new kitchen water pipes. I spray them down with water, then trowel in mortar to encase the red and blue pipes and bring the chases flush with the wall.
In the hallway, the mum cat comes over for a fuss. She is very friendly. The other cat is a male, and he will not really come near me. He is still a stray wild cat and does not want petting, but he is more than happy to get lots of food. Would you take on a full structural renovation like this? My real world renovation cost breakdown shows what it adds up to, and my guide to building permits in Sicily covers the paperwork side.
Frequently asked questions
How do you repair a crack where two walls meet?
At my villa, cracking suggested the walls were not tied together, so I cut slots across the crack, fixed steel L-brackets across the corner and mortared over them.
Are crimped PEX fittings any good?
It was my first time crimping pipe fittings and I was honestly impressed. The brass fittings are not cheap, but they feel really solid once crimped.
How do you get straight edges on window reveals?
I clamped timber guides around each opening, checked them with a spirit level, rendered against them and removed them once the mortar had cured.
How do you dilute Mapei Primer G?
I mixed Mapei Primer G, a multi-purpose acrylic primer, at a 50/50 ratio with water and brushed it onto the masonry before rendering the reveals.
More episodes on the same job: Water and plumbing · Windows and doors

 The weekly YouTube series