
In this episode
- A tile levelling system that left even spacing and no lippage
- Stone sealer and colour enhancer brushed over the whole limestone wall
- A stone block vanity built by hand instead of a €1,200 wooden unit
- The vanity back to be rendered flush, so it reads as one piece
- A toilet waste pipe 10cm out, capped off and rerouted
Finishing the floors
This week I am sealing the exposed limestone wall and building a DIY vanity unit. First, the kitchen floor tiling is completed: vacuum, adhesive with the notched trowel, tiles down, then the clips and wedges tapped in with the rubber mallet. After that, the clips and wedges come out across the kitchen, the tower, the lounge, the hallway and the bathroom, knocked off with the mallet and swept into buckets.
This tile levelling system has been an absolute godsend. The clips and wedges are really easy to use and have given me evenly spaced tiles with no lippage. Unfortunately, the red clips are not reusable, so those get binned, but the brown wedges can be kept and used again. I explained how they work in episode 87. Then the finished floors are protected before the next jobs.
The first coffee at the villa
The coffee machine gets its first use. Does anyone else use these coffee pods? They are a bit like a tea bag. They seem to be really common out here in Sicily, but I have never seen them back in the UK. I have gone from English tea to Italian coffee, and this stuff is like rocket fuel. I finally understand how Italians get so much done before 9am.
Sealing the limestone wall
The exposed limestone wall in the lounge has been fully repointed, the ancient shells from episode 89 are embedded in different places, and everything is completely dry. So the next and final stage is to seal it, with a stone sealer and colour enhancer across the entire surface. That will seal the ancient limestone, stop any dust coming off it and enhance the natural colour of the stone.
- Vacuum the whole wall to lift the loose dust.
- Tape the edges and the floor.
- Lay cardboard and dust sheets over the new tiles.
- Brush the sealer and colour enhancer over the whole wall, shells included.
I literally had just enough left to do it all. It has certainly made the wall more of a feature than before, when everything sort of blended into one. The embedded shells, the mortar lines and the colour contrast between the mortar and the ancient stone really stand out now, and I am really pleased with how it looks. It is a little patchy in places, and I am not sure whether to give it another coat or leave it. I think once it is fully dry, it will dry a lot lighter anyway. The wall was stitched and prepared back in episode 71, and my article on lime mortar and Sicilian stonework covers what restoring these old walls has taught me.
Dinner on the veranda, and Pico
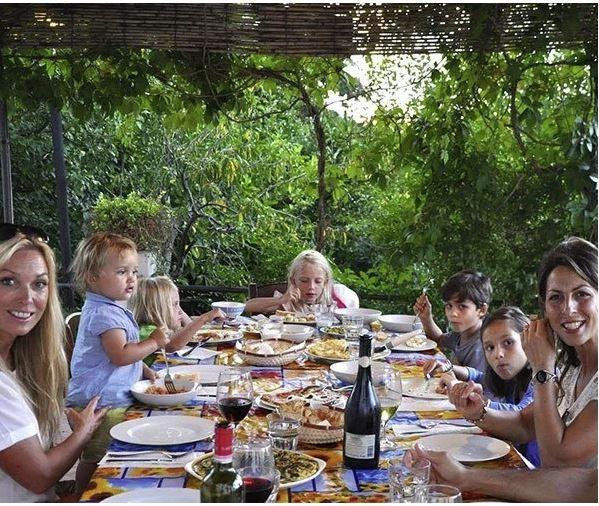
In the evening, I have dinner on the veranda with one of my boys, with two of the cats for company. And an update on the kitten I rescued from the bush in episode 85: the kitten is called Pico, short for piccolino. Because I travel between Sicily and the UK, Pico has now been rehomed with a local family. My article on raising a family in rural Sicily covers more of daily life here.
Why build a vanity unit from stone blocks
I looked in loads of different places, websites and shops, trying to find a vanity unit I really liked, and I genuinely struggled. A couple came close, some nice wooden ones, but they were around €1,200, and I still was not 110% happy with them. So I have decided to build my own from scratch.
The layout is already marked out on the bathroom floor from my design sketch: where the stone block walls will go, where the wooden worktop will sit and where the sink will be. The tap valves are in the wall, set against the mock tile in episode 79, and directly underneath them is the waste pipe for the sink.
I am building the vanity before tiling the bathroom walls, because the back of the unit will be rendered flush with the surrounding walls. I want the back rendered rather than tiled, so the whole thing feels like one piece, not separate walls with a top dropped on. Rendering all the sides and the back as one should achieve exactly that look.
Building the stone block vanity
- Cut the stone blocks to size with a handsaw and the angle grinder.
- Soak the blocks in a bucket of water before laying them.
- Mortar them into place on the marked lines, checking with the spirit level, to form the side supports.
- Cut slots into the wall and tie the vanity in with L brackets.
The next stage is rendering the sides and the back, before the worktop goes on and the walls are tiled. My practical guide to renovating in Sicily covers the wider bathroom job.
Trimming the doors for the new floor
With the new floor higher than the old one, the interior doors need cutting down, as I did with the first door in episode 87. On the veranda, I mark each door, cut it along a straight edge with the circular saw, plane the cut edge with an electric planer and sand it, then carry it back in and hang it in its frame along the hallway. The bathroom door is cut and refitted too, now that its floor is tiled.
A schoolboy error with the toilet waste
When I laid this toilet waste pipe, I intended it to sit 25cm from the finished wall. Somehow, I managed to lay it 35cm from the finished wall instead. Schoolboy error. So I am capping this one off and tiling straight over it, then I will core drill through the external wall and run the waste pipe out through there instead. With the pipe capped, the last of the bathroom floor tiles go down. The bathroom drains were first traced in episode 40.
To finish, a new bird feeder and a nest box camera go up outside, and they are already picking up wildlife in the garden.
Frequently asked questions
How do you seal an exposed stone wall?
Once my repointed limestone wall was completely dry, I vacuumed it, protected the floor and brushed a stone sealer and colour enhancer over the whole surface.
Can you reuse tile levelling clips?
With my levelling system, the red clips were not reusable, so they were binned, but the brown wedges could be kept and used again.
Can you build a bathroom vanity from stone blocks?
Instead of a €1,200 wooden unit, I built mine from stone blocks, cut to size, soaked, mortared on the marked lines and tied into the wall with L brackets.
Why render the back of a vanity unit instead of tiling it?
I rendered the back of my vanity flush with the walls so the whole unit feels like one piece, not separate walls with a top dropped on.
More episodes on the same job: Stone walls and lime
 The weekly YouTube series