
In this episode
- Two full pallets of floor tiles carried in by hand
- A resin bonding primer with aggregate, rolled over the old semi-gloss tiles
- Primer G on the concreted pipe and ducting channels
- A full pressure branch at around four bar for a hose and pressure washer
- A mated queen, marked in white, introduced in a candy cage
The floor tiles arrive
This week I am priming the floors before tiling over the old tiles. First, the tiles themselves arrive: two full pallets of them, and they all come into the villa by hand in the summer heat. The tile adhesive is already stacked in the bedroom, delivered by crane in episode 79.
Preparing every floor
The villa floors need a really good clean before anything goes on them. I sweep every room, vacuum, then mop, until all the floors are completely dust free and ready for the primers. The new tiles are going down over the existing floor tiles, and I repaired the bouncing kitchen floor ready for them in episode 64.
Two primers, two jobs
The plan before tiling uses two Mapei products, each for a different surface.
The first is Mapei Eco Prim Grip Plus, a ready to use resin bonding primer with aggregate in it, made to improve the tile adhesive bond on semi-gloss floor tiles like the old ones here. I apply it with a roller across all the floor surfaces in the villa. It gives the adhesive a solid bond to the semi-gloss finish and makes sure nothing lifts once it is down. I want this done properly, so the adhesive fully bonds to every floor tile throughout the villa. I think this is the right approach, and it should work really well.
The second is Mapei Primer G, which I have used before on the window and door reveals and the exposed stonework, as in episode 62. Primer G seals stonework and concrete and makes it less porous before tiling. All the channels I cut into the floors for the electrical ducting and the water pipes were backfilled with concrete, so those concrete sections get Primer G to reduce absorption and protect the adhesive bond. It acts as an extra moisture barrier too. The bathroom floor channel was filled only in episode 80.
- Old semi-gloss tiles: Eco Prim Grip Plus, rolled on.
- Concreted pipe and ducting channels: Primer G.
Birds nesting at the villa
Outside, the birds are still nesting in the boxes on the walls, the same boxes that had four chicks in them in episode 81.
Upgrading the off grid water system
Last week, in episode 83, I said the filter and pressure reducer setup at the 2000 litre tank was not how I wanted it long term. That upgrade is now finished, and it is a much more practical long term setup.
- The water filter stays in place.
- One branch runs down through a ball valve and the pressure reducer, feeding the garden drip irrigation line.
- A separate branch, with no reducer, serves a garden hose, a pressure washer and other connections.
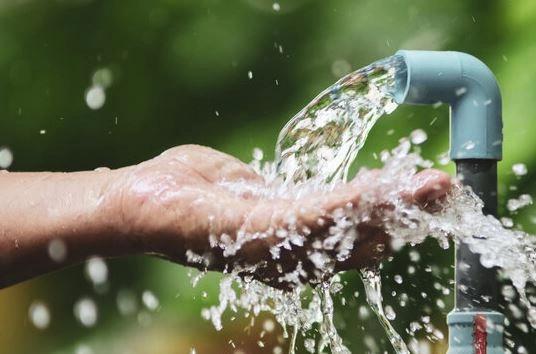
- Without a reducer, that branch runs at full pump pressure, which the pump delivers at around four bar.
The next step is to power up the pump and check everything for leaks: all the fittings, tees and couplers on the main irrigation line running around the garden. My article on off grid versus mains water explains why the villa runs on stored water.
Fitting the drippers
Then I fit the end caps to the 16mm pipes branching off it, then fit the adjustable drippers to each fruit tree. The garden irrigation system is now fully installed and running, and I am really happy with how it has come together.
There is real peace of mind knowing that while I am back in the UK, all the fruit trees are being watered automatically. I really wanted to avoid what happened last year, when the fruit trees in pots nearly all died from lack of water in the summer heat.
Introducing a mated queen
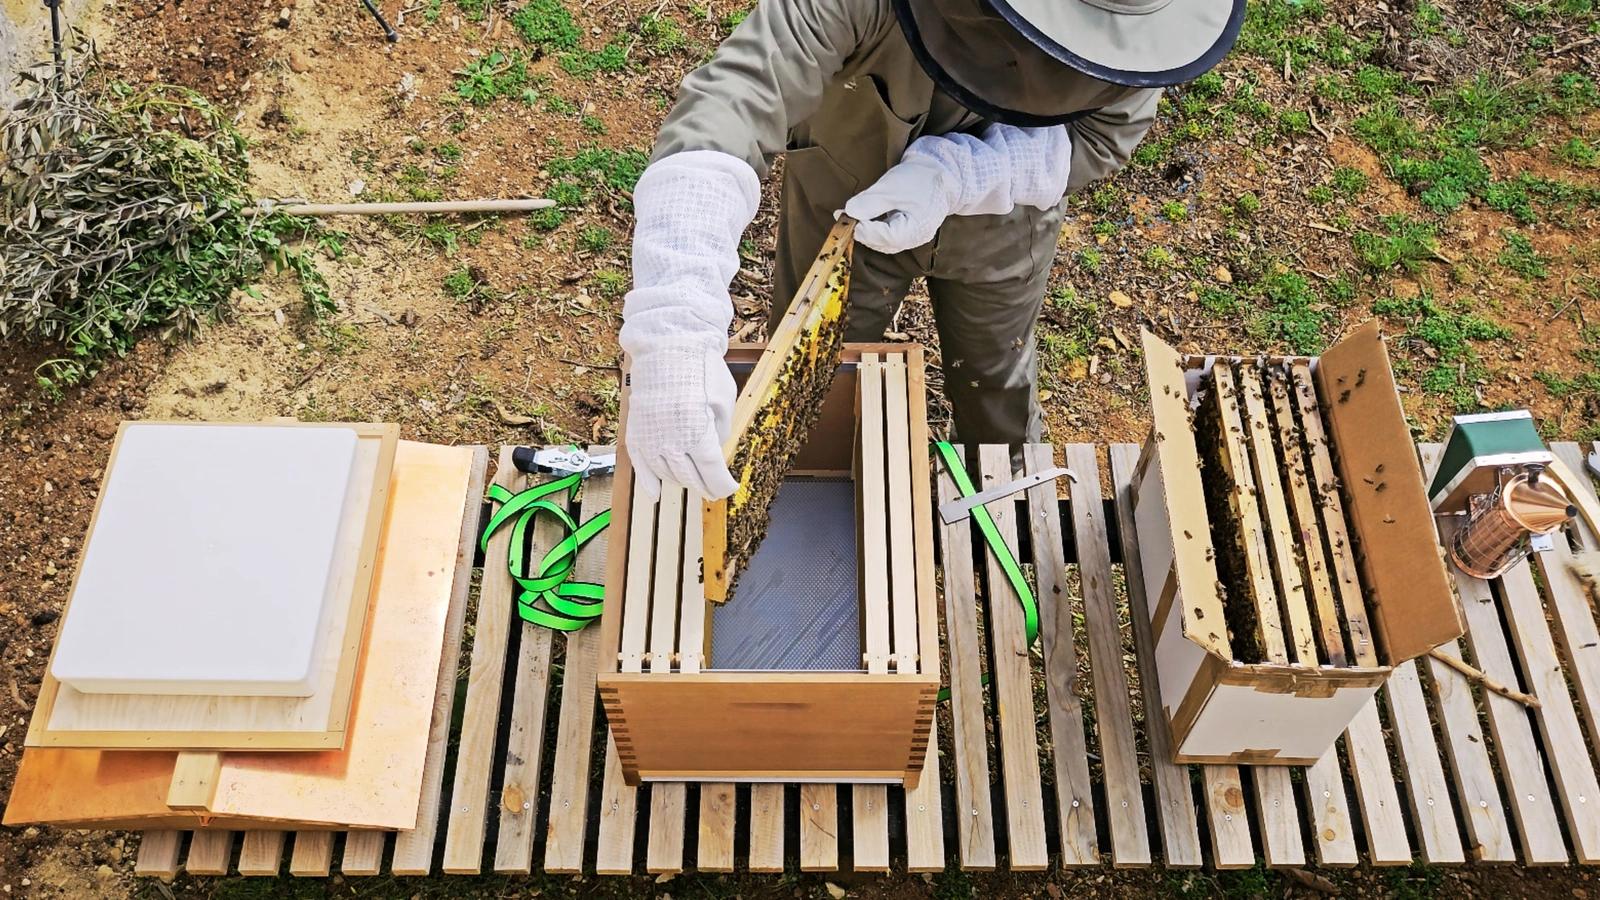
In episode 80, the last swarm I caught had no queen and no queen cells, and I said I would probably need to buy a mated queen. I have just got back to the villa with one. Here she is, marked in white, in a candy cage with about five escort bees.
I introduce her to the queenless hive in the back corner of the garden, hoping the colony accepts her. Fingers crossed. My article on my first year of beekeeping follows how it went.
The outbuilding and the tile layout
On the new terrace slab poured in episode 82, stone blocks are laid out for the walls of the rear terrace outbuilding, where the pressure tanks, filtration and, one day, the solar batteries will live. Back inside, I set up for tiling and plan the floor tile layout around the entrance and the hallway. My practical guide to renovating in Sicily and my real world cost breakdown cover the wider job.
Frequently asked questions
How do you prime old floor tiles before tiling over them?
I rolled Mapei Eco Prim Grip Plus, a resin bonding primer with aggregate, over my old semi-gloss tiles so the new adhesive would bond and nothing would lift.
Why prime concrete floor channels before tiling?
I used Mapei Primer G on the concrete filled pipe and ducting channels, to seal the concrete, reduce absorption and protect the tile adhesive bond.
Should a garden hose branch have a pressure reducer?
On my setup, only the drip irrigation branch has a reducer. The hose and pressure washer branch runs at full pump pressure, around four bar.
How is a mated queen bee introduced to a hive?
My mated queen, marked in white, arrived in a candy cage with about five escort bees, and I put her into the queenless hive hoping the colony would accept her.
More episodes on the same job: Tiling the floors
 The weekly YouTube series