
In this episode
- Bathroom PEX and recessed valves strapped and mortared into the chases
- Loose stone packed into the larger chases to stop the mortar cracking
- Four indoor air con units, two outdoor units and their brackets
- One white condensate pipe for each indoor unit, hidden in the walls
- Two strong hives at around 70% of frames covered, and one queenless swarm
Mortaring in the bathroom pipework
This week I start installing the air conditioning condensate pipes in the walls, but first the bathroom. The PEX pipework and the recessed valves I fitted and pressure tested in episode 79 have passed, so now they can be locked in for good. With the drill and a box of fixings, I secure the blue and red insulated pipes and the concealed brass valve bodies into the chases with metal strapping, so nothing can move once the mortar goes on.
I bring in a bag of mortar mix and fill a knapsack sprayer with water to wet the masonry in every chase. Then, with a bucket, a plastering hawk and a trowel, I pack the mortar in around the pipework. In the larger sections of chase, I push in small pieces of loose stone along with the mortar. A big, deep fill of mortar on its own is more likely to crack, so the stone bulks it out and helps it hold.
I work along the lower chases and up the shower wall, smoothing the mortar flush with the existing wall over the pipes and the shower valve box, with one of the cats wandering into the doorway to supervise. A red outline on the next wall marks where a recess will go. When it is done, I sweep up the mortar droppings and dust from the floor.
Pouring the bathroom floor
With the pipes locked in, the channel in the bathroom floor is next. I set timber strips along the trench to batten out the floor level, spray the channel with water to dampen it, then tip the wet mix in over the insulated pipes. An aluminium straight edge run along the battens, followed by the trowel, brings it level and smooth with the rest of the floor. The pipes that were sitting in an open trench are now buried.
The air conditioning units arrive
These are the air con units. I have just picked them up: four internal units and two brackets for the external units. I still need to collect the two external units, but I am doing that tomorrow. Hopefully the electrician will be out next week to get all the air con fitted, which will be another big step forward, because it is really starting to get warm now. I carry the boxes into the house, with two of the cats taking an interest.
The layout follows the plan from episode 78: two dual split systems, each outdoor unit feeding two indoor units, with the outdoor units on the side walls of the house. The indoor back boxes were set into the walls all the way back in episode 27.
Hiding the condensate pipes in the walls
On the ladder at the side of the house, I finish securing the air con lines into the outside wall chase and clear the loose debris with a hammer and chisel. All the air conditioning pipes are now fully mortared into the walls. It has been quite a long, laborious job, but it is all done.
The last thing to do before the units can be fitted is to cut out more channels and install the white condensate pipes. There is one condensate pipe for each internal unit, and with four internal units, that means four pipes. As soon as those are in, the air conditioning units can be fitted.
- Cut the vertical chases through the render and masonry with the angle grinder and masonry blade.
- Break out the chases with the SDS.
- Lay in the white condensate pipes and clip the conduit to the wall.
- Seal around the pipework with the caulking gun.
- Mortar over the chases from the ladder, then blend them into the existing render with a sponge float.
At the base of the wall, I check the earth pit beside the house while I am fixing the conduit. Then I shovel the rubble from the chasing into the wheelbarrow and rake out the dry weeds along the side path.
Changing the dust mask filters
Cutting chases all day means a lot of dust. Sitting on the porch bench, I swap the filter cartridges on my half mask respirator. I could taste the dust in my mouth when using it, which I feel is a pretty good sign they need changing.
Water for the fruit trees, and the external units
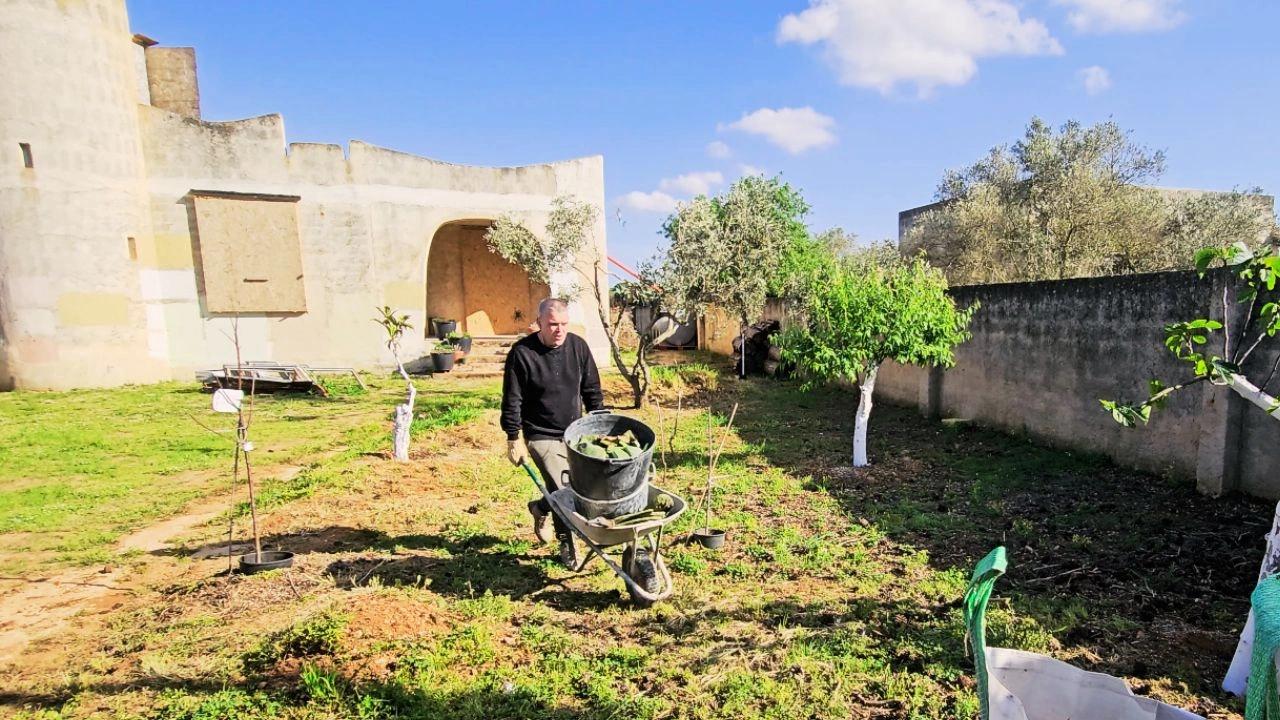
A water tanker arrives and the driver runs a long hose round to refill the 2000 litre tank beside the boundary wall, the one I set up in episode 72 for the fruit trees. My article on growing your own food in Sicily covers what I am growing.
The next day, the two outdoor units come home in the boot of the car, and I carry them inside to wait for the electrician. Then the next job is the front garden. The grass is so overgrown it looks like a jungle, so cutting it is massively overdue, and the drone shows clear paths cut through the front garden by the end.
Inspecting all three beehives
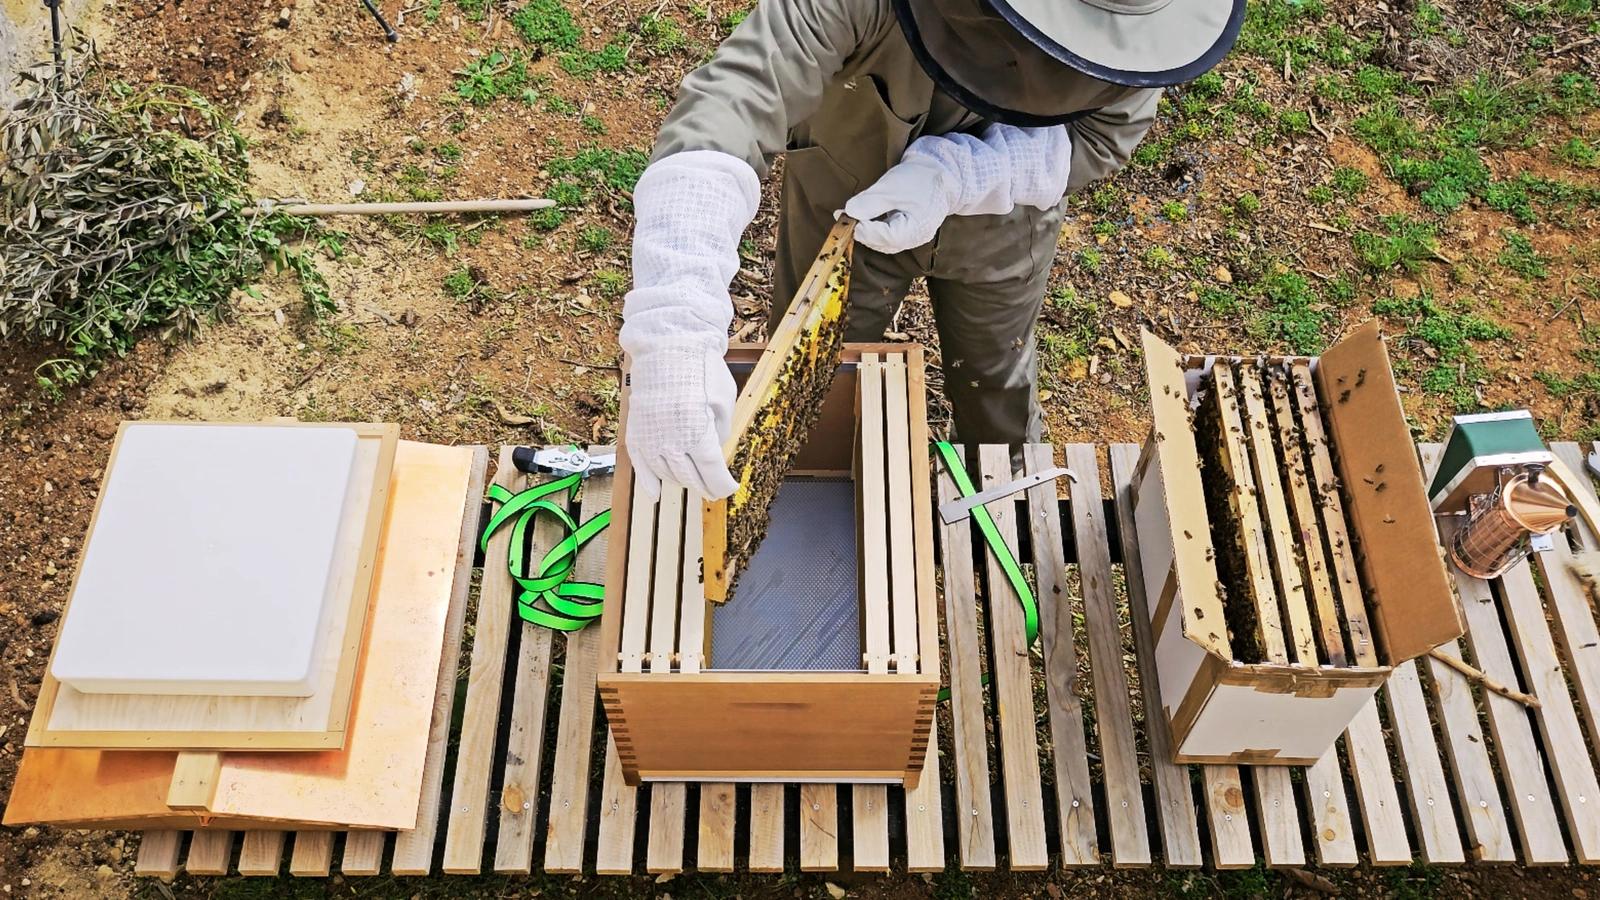
In the full suit, with the smoker lit, I go and check on all three colonies. I have not looked at them for about two weeks, so I want to see whether they have expanded, and whether the two swarms I caught have a queen in them. The first swarm landed in an olive tree in episode 76, and in episode 78 it turned out to have come from my own hive.
I start with the last swarm I caught. I am expecting this colony to still be quite small, and potentially queenless. The bees are reasonably calm and going about their work as normal, and I check through each frame carefully to spot the queen or any queen cells. At this stage, I was hoping to see signs that the population would keep growing over the coming weeks. Unfortunately, I did not see what I had hoped to see. There is no queen and no queen cells. I am probably going to have to buy a mated queen to give this colony the best chance of getting established.
The other two hives are a different story. Both are doing absolutely fantastic, with around 70% of the frames on each hive now covered in bees. There is lots of brood and plenty of food reserves in the form of capped honey. The next step is adding supers to each hive, which are there for the bees to collect and store honey. Between the super and the brood box goes a queen excluder, so the queen cannot get up into the honey super. Overall, I am absolutely made up with both of them. My article on my first year of beekeeping follows how they got on, and why Sicilian honey tastes different explains what they are working with. With the air con coming, my guide to solar power for an off grid home covers how the power side is planned.
Frequently asked questions
How many condensate pipes does an air conditioning system need?
One for each indoor unit. My house has four indoor air con units across two dual split systems, so I chased four white condensate pipes into the walls.
Why put stone in a large chase before mortaring?
In the bigger sections of my bathroom chases I packed in loose stone with the mortar, because a deep fill of mortar on its own is more likely to crack.
How do you know when to change dust mask filters?
I changed the cartridges on my respirator once I could taste dust in my mouth while wearing it, which is a pretty good sign the filters need replacing.
What is a queen excluder for?
It sits between the brood box and the honey super, so the queen cannot get up into the super. The supers are there for the bees to collect and store honey.
More episodes on the same job: Air con and ventilation
 The weekly YouTube series