
In this episode
- The stand legs cut to length with a chainsaw and a slatted timber top fitted
- The stand levelled and set into concrete foundations in the front garden
- The last door reveals scraped back and repaired
- Internal doors removed and numbered so each goes back in its own frame
- Electrical sockets covered with cardboard to keep the plaster out
Cutting the stand legs to length
This week I finish the garden stand and get the house ready for the plasterers. On the veranda, the stand I built and painted in episode 68 has its legs cut to length with the chainsaw, and the cut ends touched up with paint.
The last door reveals
Inside, I clean up the entrance door reveals, scrape back the excess mortar and repair the sections that need it, ready for plaster. I frame the openings with timber battens, then mix mortar and apply it around the doorway edges with the hawk and trowel.
This door and the back door are the last reveals to finish. It has been a lot of extra work I had not planned, after the plasterers quoted extra to do them in episode 63, but I think it will be worth it once it is all plastered.
Building the slatted top
Back on the veranda, the stand is flipped upright and long timber guide rails are clamped to it while I measure up. At the mitre saw, I cut a stack of identical short timber slats, with one of the cats wandering through. Then, by head torch as the light fades, the slats are lined up on the frame and screwed down with the impact driver, using a spacer block to keep the gaps even.
Strimming, with a helper
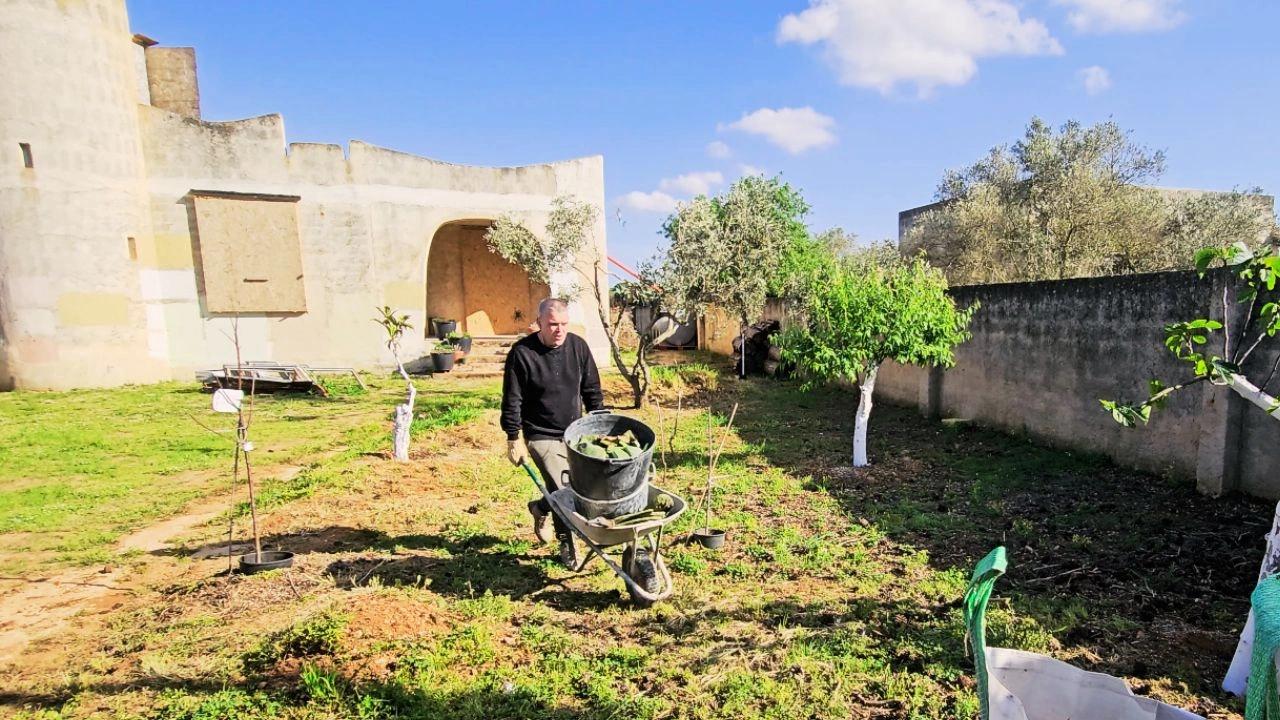
I mix two stroke oil into the petrol for the strimmer, and one of my boys strims the land, cutting the tall grass and weeds across the garden and orchard. It has been great having him helping. It has been amazing watching him go from unsure and a bit unconfident to slowly figuring things out. I have shown him the basics but tried not to micromanage, so he can learn the same way I have during this project. It feels important that he is part of it, learning the value of work and starting to build some real skills.
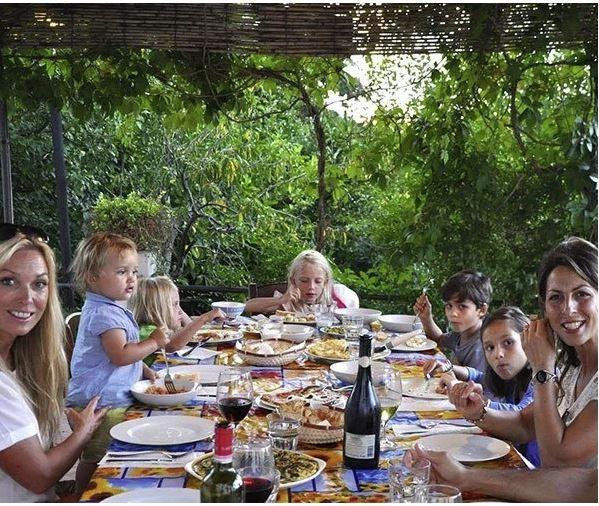
My article on raising a family in rural Sicily covers what daily life looks like for the children here.
The scrap metal collection
The scrap collector arrives in a little three wheeled Ape and backs into the garden. The old window frames, with the glass knocked out in episode 68, are loaded onto the back and driven away, along with old scrap wood and branches.
Setting the stand in concrete
The stand goes into the front garden by the stone boundary wall:
- Bring the stand into position and level it carefully with the spirit level.
- Dig out a foundation hole for each leg.
- Mix concrete in buckets and pour it into the holes around the legs.
- Shovel the soil back over the top and rake it level.
- Cut the last spacer blocks and slats to size on the mitre saw.
- Clamp, space and screw down the last of the slats.
While the concrete sets, the garden waste and prickly pear cuttings go into the big compost bag from episode 65. As the light goes, a timelapse shows the finished stand in front of the wall. My article on growing your own food in Sicily follows the garden.
Rearranging the herb pots
On the veranda, I rearrange the herb pots, setting the lavender up on timber blocks. They are the plants I potted in episode 64 and episode 68.
Getting the house ready for plaster
Then the final preparation for the plasterers:
- Remove every internal door from its frame and number it, so each one goes back where it came from. These are the doors I restored in episode 51.
- Secure the temporary exterior door frames, sealing around them on the veranda and at the back.
- Cut cardboard rectangles to size and fit them over every electrical back box, taping over the screw holes so no plaster gets in.
It is a late night finish, walking through the cleared rooms by head torch. A trail camera catches one of the cats crossing the garden in the dark, and then I head off along the quiet country roads. For over a year this house has looked like a building site, and more than once I have questioned if it could ever look like a home. So this week, take a good look, because next week everything changes. The plaster goes on in episode 70, and my real timeline of year one shows how long it took to get here. My article on what a geometra does explains who oversees work like this.
Frequently asked questions
How do you prepare a house for plasterers?
I finished every reveal, removed and numbered the internal doors, secured the temporary exterior doors and covered every electrical back box with cardboard and tape.
How do you protect electrical back boxes when plastering?
I cut cardboard rectangles to fit over each back box and taped over the screw holes, so no plaster could get inside before the sockets are fitted.
How do you set a garden stand in concrete?
I levelled my stand in position, dug a hole for each leg, poured concrete around the legs, then shovelled the soil back over and raked it level.
Why number internal doors before plastering?
I took every internal door off and numbered it before the plasterers arrived, so each one can go back into the frame it came from.
More episodes on the same job: The garden and fruit trees
 The weekly YouTube series